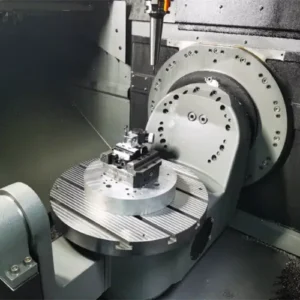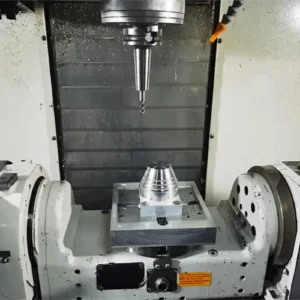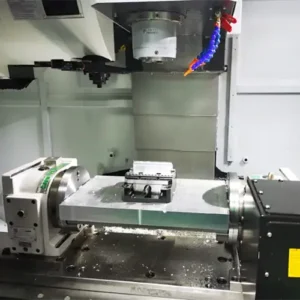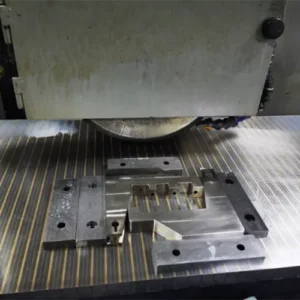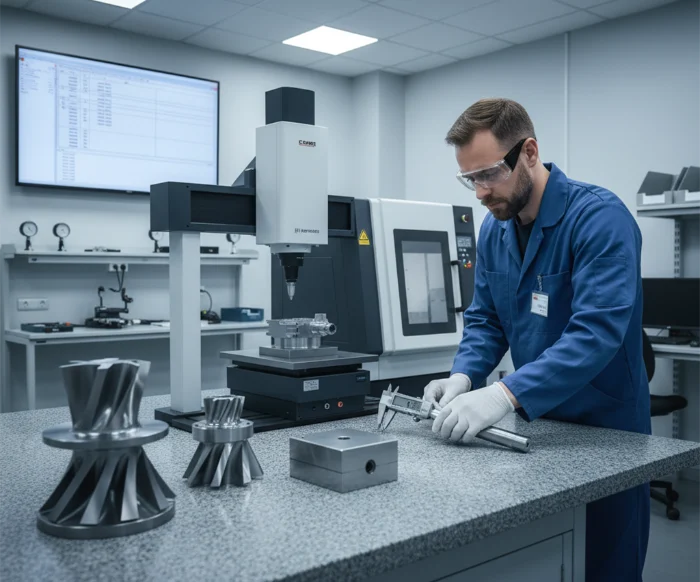
In modern manufacturing, CNC machining tolerances play a decisive role in determining whether a part meets engineering, functional, and assembly requirements. Whether producing aerospace fittings, automotive components, or electronic housings, the tolerance level on a drawing directly influences machining approach, cycle time, and cost. Understanding CNC machining tolerances is essential for engineers, buyers, and anyone responsible for product validation or supplier evaluation.
This guide explains what CNC machining tolerances mean, how they are measured, what typical values look like, and how to choose the proper tolerance level for your project. It also examines standards, charts, precision machining tolerances, and common industry practices.
Why CNC Machining Tolerances Matter
The purpose of defining CNC machining tolerances is to ensure each manufactured part remains consistent and reliable, regardless of production volume. When tolerances are too loose, the part may not fit or function properly. When tolerances are unnecessarily tight, machining becomes more expensive, slower, and harder to control.
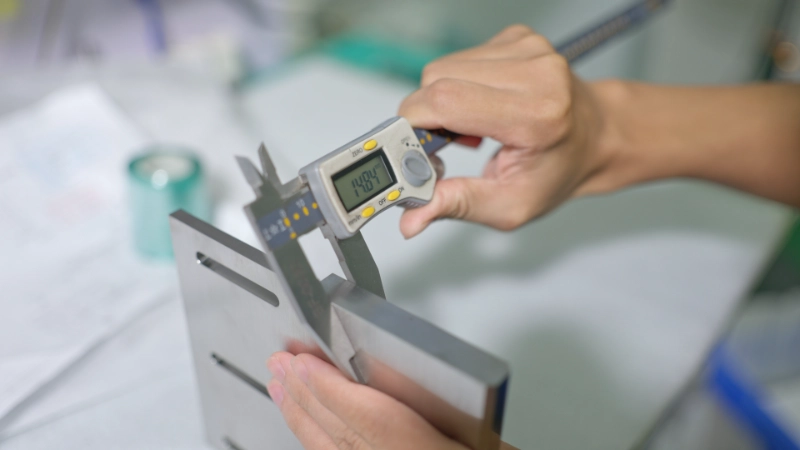
Finding the right balance is a core skill in engineering and sourcing.
Understanding CNC Machining Tolerances in MM
What CNC Machining Tolerances Represent
Most engineering drawings use metric units. Therefore, CNC machining tolerances mm values are commonly expressed as ±0.1 mm, ±0.05 mm, ±0.01 mm, or tighter. The tolerance range describes how much a dimension is allowed to vary during production.
For example:
A dimension of 50 mm ±0.05 mm means the acceptable size is 49.95–50.05 mm.
A tolerance of ±0.01 mm is considered extremely tight and typically requires high-end machines, precision tools, and meticulous quality control.
Precision Machining Tolerances and Their Impact on Manufacturing
Machining tolerances refer to the tightest tolerance levels achievable in CNC machining environments. Achieving ultra-tight tolerances affects machining steps such as toolpath selection, spindle speed, and thermal compensation. Common examples of precision ranges include:
±0.01 mm for high-precision metal parts
±0.005 mm for micro-machined components
±0.001 inch (0.0254 mm) when extreme accuracy is mandatory
Demanding precision machining tolerances generally increase production cost due to slower machining time, tool wear, and additional inspection processes such as CMM measurement or optical scanning.

CNC Mill Tolerances and Machine Capability
How CNC Mills Influence Accuracy
Modern CNC milling machines are highly capable, but their precision varies. CNC mill tolerances are affected by machine quality, rigidity, controller accuracy, thermal stability, and spindle condition. Typical CNC mill tolerances for well-maintained machines include:
Standard tolerance: ±0.1 mm
Moderate precision: ±0.05 mm
High precision: ±0.02–0.01 mm
Ultra precision (specialized machines): ±0.005 mm or better
Machinists evaluate material hardness, part geometry, and setup to determine achievable tolerance on each feature.
Standard CNC Machining Tolerances Across Industries
What Are Standard CNC Machining Tolerances?
When drawings do not specify tolerances, manufacturers use standard CNC machining tolerances based on ISO, DIN, or ASME guidelines. This ensures reasonable dimensional accuracy without overengineering. Typical defaults include:
ISO 2768-m (medium tolerance)
ISO 2768-f (fine tolerance)
ASME Y14.5 GD&T frameworks
Standard CNC machining tolerances are practical for brackets, housings, structural parts, and general assemblies where extreme precision is not required.
Common CNC Machining Tolerances Used in Industry
Common tolerances typically fall into predictable ranges depending on part size and function:
±0.1 mm for large or non-critical features
±0.05 mm for general engineering components
±0.02 mm for mating features
±0.01 mm or lower for precision assemblies
These ranges ensure manufacturability while minimizing cost. Choosing unnecessarily tight tolerances often leads to significant price increases, making it important to match tolerance levels with actual functional needs.
Typical CNC Machining Tolerances in Real Projects
What Engineers Can Expect
When designing or sourcing custom components, understanding typical CNC machining tolerances helps engineers avoid over-specification. Examples of typical values include:
Holes: ±0.02 mm to ±0.05 mm
Shaft diameters: ±0.01 mm to ±0.02 mm
Flatness: 0.02–0.1 mm depending on size
Perpendicularity: 0.05–0.1 mm
Surface finish: Ra 1.6–3.2 μm (standard machined finish)
These typical CNC machining tolerances provide a benchmark for balancing accuracy and manufacturing cost.
CNC Machining Tolerances Chart for Rapid Reference
A CNC machining tolerances chart is one of the best tools for engineers because it provides quick access to recommended tolerance ranges based on manufacturing capability. A well-structured chart usually includes:
Recommended tolerances for milling and turning
Tolerances for holes, bosses, slots, and threads
Surface finish expectations
Precision vs. standard tolerances
Suggested values for aluminum, steel, brass, bronze, and plastics
Engineers often refer to a CNC machining tolerances chart when preparing drawings or comparing supplier capability.
How Material, Geometry, and Setup Affect Machining Tolerances
Even the best machines cannot maintain tight tolerances without considering part characteristics:
Material
Soft materials (ABS, nylon) deform more easily, while hard metals (steel, titanium) increase tool wear.
Geometry
Thin walls, deep cavities, and long features make precision harder to maintain.
Tooling
Sharper, coated, and rigid tools help ensure stable tolerances.
Fixturing and Setup
Clamping method affects stability and repeatability, especially on fragile or oddly shaped components.
Choosing the Right CNC Machining Tolerances for Your Project
Avoid Over-Engineering
Specifying tolerances tighter than necessary can multiply cost. Instead, choose tolerances based on function.
Consult Your Manufacturer
Experienced suppliers like Weldo Machining can evaluate your design and recommend tolerance levels that ensure precision without overspending.

Conclusion
CNC machining tolerances determine how accurately parts can be produced and how reliably they perform in real-world applications. By understanding typical CNC machining tolerances, standard industry ranges, precision machining tolerances, and using tools such as CNC machining tolerances charts, engineers can design smarter and reduce unnecessary cost. Clear communication of tolerance requirements ensures a smoother manufacturing process and better final product.
If you need high-precision machining, Weldo Machining specializes in tight tolerance production and can assist with tolerance analysis, DFM support, and competitive machining quotes.
Feel free to contact us to discuss your drawings, tolerance requirements, or obtain a customized quotation.
FAQ of cnc machining tolerances
How tight can CNC machining tolerances be?
High-end machines can achieve ±0.01 mm or better. Ultra-precision machining may reach ±0.005 mm or ±0.001 inch depending on geometry and material.
How do I choose the right CNC machining tolerances for my design?
Select tolerances based on functional needs, industry standards, and manufacturability. Using a cnc machining tolerances chart can help determine realistic values.
Can Weldo Machining help optimize my tolerance requirements?
Absolutely. Weldo Machining can analyze your drawings, suggest cost-effective tolerance adjustments, and provide precise machining up to ±0.001 inch depending on material and part complexity.


