
Are you struggling to find a way to anodize aluminum without damaging the parts?
You may already know that proper anodizing is the key to achieving excellent durability, corrosion resistance, and vibrant custom colors…
But what does the actual process look like? What are the exact steps?
You’re in luck, because I’ve put together a complete guide.
From anodizing equipment and electrolyte preparation to mastering perfect coloring and sealing, I’ll share proven techniques that go far beyond the basics. In this article, whether you are working on industrial-scale production or a personal DIY project, you will learn and gain practical methods.
Let’s get straight to it.
Understanding Aluminum Anodizing
Learning the aluminum anodizing process allows untreated metal to be transformed into highly durable, corrosion-resistant, and visually appealing parts.
What is Anodized Aluminum?
Anodized aluminum is metal that has been specially treated to thicken its natural oxide layer. Unlike traditional surface coatings (such as paint or plating) that may peel or flake over time, this newly formed anodic layer is fully integrated with the underlying aluminum substrate.
The key features of anodized aluminum include:
· Excellent durability: The anodic layer is extremely hard, offering outstanding scratch and wear resistance.
· Corrosion resistance: The thickened oxide layer permanently protects the metal from harsh environmental conditions and rust.
· Color integration: The porous structure of the unsealed anodic layer absorbs dyes effectively, resulting in rich, fade-resistant finishes.
Principles of the Anodizing Process
The core of anodizing lies in a strictly controlled electrochemical process. By passing direct current through an acidic electrolyte—where the aluminum part serves as the anode—the natural oxidation of the metal is significantly accelerated.
The basic principles of the process are:
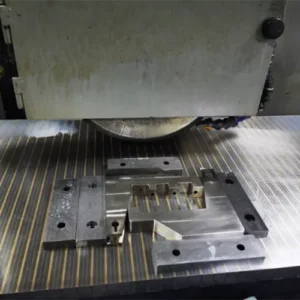
· Strict surface preparation: The reaction requires extremely high surface purity. Before energizing, the aluminum parts must be thoroughly cleaned. Methods such as acetone cleaning and chemical degreasing remove all oils, dirt, and contaminants that would otherwise hinder the oxidation reaction.
· Electrolytic action: When the part is immersed in an acid bath and connected to the cathode, the applied current causes oxygen ions in the electrolyte to be released. These ions strongly bond with aluminum atoms on the surface of the part.
· Controlled growth: This reaction structurally modifies the metal, building a thick oxide layer directly within the aluminum itself rather than simply depositing material on its surface.
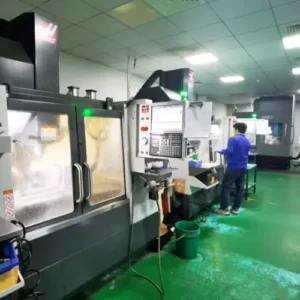
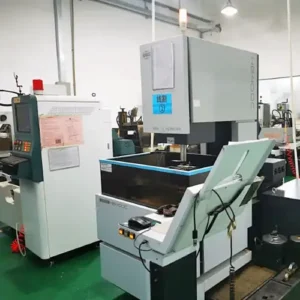
What Does Anodizing Equipment Include?
Anodizing equipment typically consists of the following main components:
| DescriptionComponent | Description |
|---|---|
| Electrolytic Tank | Holds the electrolyte (such as sulfuric acid or oxalic acid solutions). It is the container where the anodizing reaction occurs. Usually made of corrosion-resistant materials (such as plastic, stainless steel, or special alloys), with various sizes and shapes depending on production needs. |
| Power Supply System | Provides direct current (sometimes combined with alternating current). Voltage and current are adjustable to meet the requirements of different materials and oxide layer thicknesses. Common types include rectifiers and DC power modules. |
| Cooling and Temperature Control System | Maintains the electrolyte within an appropriate temperature range (e.g., low temperatures for hard anodizing). Typically includes cooling coils, refrigeration units, temperature sensors, and controllers. |
| Agitation Device | Ensures uniform temperature and stable composition of the electrolyte through air or mechanical stirring, promoting even oxidation. |
| Fixtures and Racks | Used to secure and suspend the metal workpieces, ensuring full contact with the electrolyte and proper conductivity while avoiding short circuits or poor connections. |
| Wastewater Treatment System | Treats wastewater generated during anodizing, including acid-base neutralization and heavy metal removal, to meet environmental requirements. |
| Ventilation and Exhaust System | Removes harmful gases and acid mist produced during electrolysis, ensuring a safe working environment. |
| Control System | Typically includes automated control systems to set and monitor voltage, current, time, and temperature, enabling precise and automated process control. |
Different scales and applications may vary in configuration, but these components form the basic structure of anodizing equipment.
Aluminum Anodizing Process Guide: Step-by-Step
When I teach my team how to anodize aluminum, I always emphasize that precision is critical. This electrochemical process transforms ordinary metal surfaces into highly durable, corrosion-resistant coatings. Below is the complete workflow I use to ensure consistent, professional results.
Surface Preparation and Cleaning
The absolute secret to creating a perfect anodized layer lies in preparation. Any residual grease, dirt, or fingerprints will create a barrier and ruin the final result.
· Cleaning: First, I thoroughly wash the aluminum parts with a dedicated degreaser and warm water to remove loose debris.
· Degreasing: Next, I use a strict acetone cleaning process. Wiping the metal surface with acetone removes stubborn machining oils and residues.
· Etching: Immerse the parts in a diluted alkaline (sodium hydroxide) solution for a few minutes. This removes the factory oxide layer and creates a matte, micro-textured surface. Immediately rinse thoroughly with distilled water to stop the chemical reaction.
Setting Up the Anodizing Bath
The acid bath is the core of the entire operation. I follow strict setup procedures to ensure safety and chemical stability.
· Tank: I use a high-strength polyethylene plastic container. Glass containers can also work, but never use metal containers, as they will cause electrical short circuits.
· Electrolyte: I mix distilled water with standard sulfuric acid (battery acid works well). Key safety rule: always add acid to water, never water to acid, to avoid boiling and injury.
· Cathode: I use lead plates or scrap aluminum sheets along the inner walls of the tank and connect them to the negative terminal of a constant current power supply.
Electrolysis Process
This is where the transformation happens, and the tough anodized layer is formed.
· Suspending the part: I tightly wrap the pretreated aluminum piece with titanium wire and suspend it in the bath, ensuring it does not touch the bottom or sides of the tank. The part acts as the anode, so I connect the titanium wire to the positive terminal.
· Power on: I turn on the power supply. Direct current passing through the acid bath initiates the electrochemical process.
· Monitoring growth: Oxygen ions are released from the solution and bond directly with aluminum, forming a porous microscopic oxide layer on the surface. I typically run the system at 70°F (about 21°C) for 45 to 60 minutes, depending on the desired thickness.
· Rinsing: When the timer ends, I turn off the power, remove the part, and immediately immerse it in fresh distilled water to neutralize any acid residue.
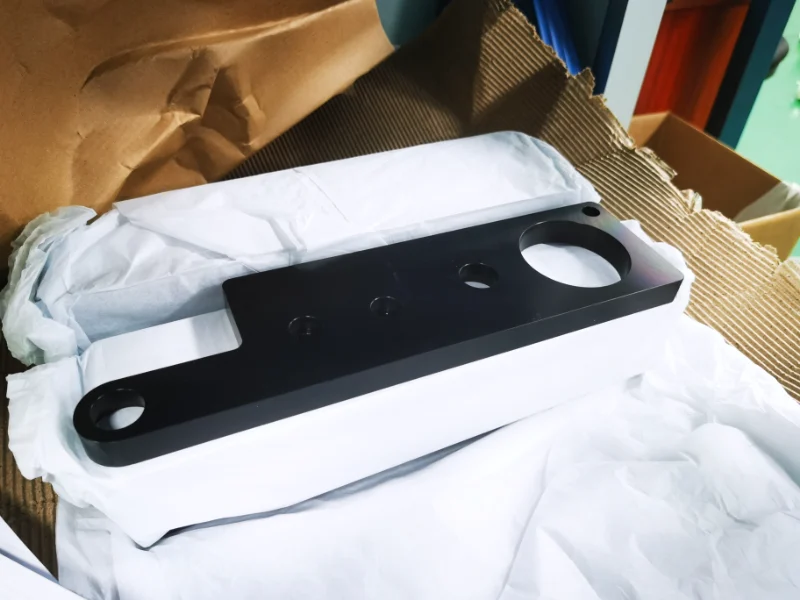
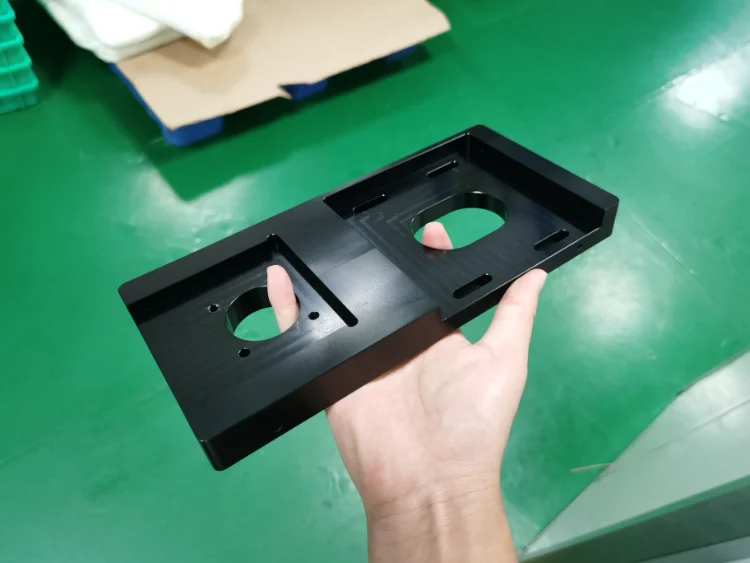
Aluminum Finish Anodizing
Assuming the aluminum parts were thoroughly cleaned with acetone before anodizing, the oxide layer formed will be more uniform and better suited for further treatment. Once the main electrochemical process is complete, the newly formed oxide layer behaves like a microscopic sponge with a highly porous structure. Therefore, further processing is required to achieve the desired result. This crucial post-treatment step—finishing anodizing—is just as important as mastering the anodizing process itself.
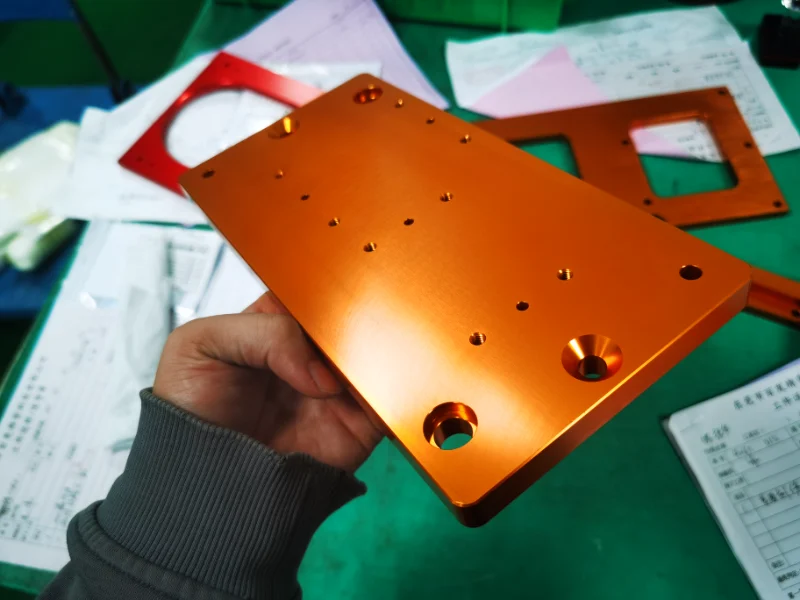
Coloring Methods for Anodized Aluminum
If you want vibrant custom appearances, coloring is applied immediately after the acid bath.
· Organic dyeing: This is the preferred method for custom parts in the United States. The aluminum is immersed in a heated liquid dye bath, where pigments easily penetrate the open, unsealed pores.
· Electrolytic coloring: For high-strength commercial applications, alternating current is used to deposit metal salts directly into the pores. This produces highly durable, UV-resistant colors such as bronze and black.
· Aluminum anodizing colors: Common colors include black anodizing, silver (natural), gold, red, blue, green, champagne, and bronze. In practice, an anodizing colors chart is often referenced for visual comparison and selection.
How to Seal the Anodized Layer
Whether dyed or natural, anodized aluminum must be sealed. Sealing closes the microscopic pores, locks in color, and protects the metal from corrosion.
· Hot water sealing: The simplest method. Parts are boiled in pure deionized water for 20–30 minutes. The heat hydrates the oxide, causing it to expand and permanently close the pores.
· Nickel acetate sealing: Often used for dyed parts. This chemical solution effectively prevents fading and creates a durable coating that withstands everyday wear.
Types of Aluminum Anodizing Processes
When selecting the appropriate anodizing process for your project, you must choose the right electrochemical method. The acid used in the electrolyte determines the thickness and properties of the final anodized layer. I typically categorize industry standards into three main types.
Type I: Chromic Acid Anodizing
This is the oldest method, also known as Type I anodizing. It uses chromic acid to form a very thin and flexible oxide layer. I have seen this applied in aerospace aluminum components, where it helps maintain and improve fatigue strength.
· Thickness: Very thin (typically less than 0.0001 inches).
· Main advantages: Strong corrosion resistance and minimal dimensional change.
· Disadvantages: Chromic acid is highly toxic and is now less commonly used due to strict environmental regulations by the EPA.
Type II: Sulfuric Acid Anodizing
If you are looking for anodizing for consumer products or architectural components, Type II anodizing is the ideal choice. It is the industry standard process. Using diluted sulfuric acid, it creates a porous and durable surface before sealing.
· Thickness: Medium (0.0001 to 0.001 inches).
· Dyeing performance: Excellent. The porous layer absorbs dyes well, producing vibrant colors.
· Applications: Consumer electronics, sporting goods, and custom automotive parts.
Type III: Hard Anodizing
For heavy-duty applications, I typically recommend Type III. It also uses sulfuric acid but operates at much lower temperatures (near freezing) and higher voltages. This electrochemical process produces a thicker, harder, and denser oxide layer.
Quick Comparison of Type II and Type III:
| Feature | Type II (Standard) | Type III (Hard Coating) |
|---|---|---|
| Primary Objective | Color and basic protection | Extremely high wear resistance |
| Coating Thickness | Up to 0.001 inches | Up to 0.002 inches or more |
| Dye Absorption | Excellent | Poor (usually natural dark gray/black) |
| Applications | Consumer products | Military, aerospace, and industrial gears |
Choosing the right process ensures that your aluminum parts achieve the required structural protection and surface finish.
Common Applications and Advantages
Learning the aluminum anodizing process allows ordinary, easily worn metal surfaces to be transformed into highly durable and corrosion-resistant materials. The formed oxide layer is not a surface coating that peels off easily, but is fully integrated with the aluminum.
Industrial and Engineering Applications
In commercial and manufacturing fields, the protective effect of thick anodized layers cannot be ignored. Across the United States, we rely on this surface treatment technology to prevent critical structural components from wearing out under extreme stress and harsh environments.
· Aerospace and automotive: Manufacturers widely use it for engine components, landing gear, and custom trim parts, where maintaining lightweight strength is essential.
· Architecture: Commercial window frames, building facades, and roofing structures require strong weather resistance, which only sealed anodizing can provide.
· Medical equipment: Surgical instruments, diagnostic tools, and housings benefit from non-toxic, easy-to-sterilize surfaces.
DIY and Everyday Applications
You don’t need large industrial facilities to anodize aluminum for small personalized projects. Whether customizing everyday carry (EDC) gear or restoring old hardware, the results can reach professional quality.
· Custom electronics: Mechanical keyboard cases, custom PC enclosures, and high-end audio equipment benefit from dyed anodized finishes that resist fingerprints.
· Sports equipment: Custom bicycle frames, paintball guns, and heavy-duty camping flashlights gain better resistance to scratches and daily wear.
· Automotive restoration: Enthusiasts often use it for restoring classic car trim, custom motorcycle parts, and modified wheels.
To achieve high-quality coating, the key is thorough cleaning of the aluminum surface (such as removing oil with acetone); otherwise, the anodized coating will not adhere properly.
Challenges and Quality Control
Even with proper equipment setup, the electrochemical process may encounter unexpected issues. Identifying problems early and understanding how to maintain finished parts can save significant time and cost.
Common Troubleshooting
When learning how to anodize aluminum reliably, encountering issues is inevitable. Below are the most common problems I’ve encountered and their solutions:
· Uneven or blotchy surface: If the anodized layer appears patchy, surface preparation has failed. Aluminum parts must be thoroughly cleaned before immersion. If standard degreasers are insufficient, strong acetone cleaning must be used to remove residual oils.
· Dull or lack of color: If dye is not absorbed, the dye bath temperature may be incorrect, or the pores in the oxide layer have closed before dye penetration. Carefully check the dye bath temperature and strictly control dyeing time.
· Pitting or “burning”: This occurs when current is too high or connections are loose. Reduce current and ensure titanium or aluminum wires firmly clamp the workpiece.
Coating Quality Inspection
Before shipping or putting parts into use, you need to ensure the anodized layer is effective. I always perform quick checks to verify coating quality.
| Inspection Method | What to Look For |
|---|---|
| Visual Inspection | The surface finish should be completely uniform. Carefully inspect under good lighting for streaks, spots, or exposed areas. |
| Scratch Test | Test in a hidden, non-critical area with a sharp edge. The oxide layer should be much harder than untreated aluminum and resistant to scratching. |
| Dye Rub Test | If dyed, rub firmly with a dry white cloth. If color transfers, the sealing step was incomplete. |
Maintenance and Care of Anodized Aluminum Parts
Anodizing creates a very durable surface, but proper maintenance is still required to maximize its lifespan. Here is a simple maintenance routine I follow to keep parts looking new:
· Use mild cleaners: Always clean parts with warm water and pH-neutral detergent.
· Avoid strong alkaline degreasers or strong acids, as they can corrode and eventually strip the protective oxide layer.
· Avoid abrasives: Discard scouring pads, hard brushes, and steel wool. A soft sponge or microfiber cloth is sufficient to remove dirt and grease without damaging the surface.
How to Remove Anodizing from Aluminum
There are multiple methods to remove anodized layers from aluminum. The following are common and effective approaches, which should be selected based on actual conditions:
Chemical Methods
Alkaline solution soaking:
Use a sodium hydroxide (NaOH) solution with a concentration of 30–40 g/L at a temperature of 50–60°C. Adjust soaking time based on oxide thickness until it is fully dissolved. The reaction is:
Al₂O₃ + 2NaOH → 2NaAlO₂ + H₂O
After soaking, rinse thoroughly with clean water, then neutralize with dilute nitric acid to prevent corrosion of the aluminum substrate.
Acid solution treatment:
For high-precision parts, a solution composed of phosphoric acid and chromic anhydride can be used at room temperature. Strict control of concentration and time is required to avoid over-corrosion.
Mechanical Methods
Grinding:
Use sandpaper (such as 80–120 grit) or an angle grinder to gently remove the oxide layer. Suitable for small areas or simple shapes, but care must be taken to avoid damaging the aluminum substrate.
Sandblasting:
Use a sandblasting machine to spray abrasive material (such as quartz sand) at high speed onto the aluminum surface. This removes the oxide layer while improving surface roughness, suitable for large areas or complex shapes.
Electrochemical Method
Reverse anodizing:
In a suitable electrolyte, apply reverse current to dissolve the oxide layer. This requires professional equipment and operation, suitable for applications with very high surface quality requirements.
Precautions
Before removing the oxide layer, degrease the anodized aluminum parts to remove surface oil.
If the oxide layer has been sealed, perform de-sealing treatment first (such as using nitric acid to remove sealing materials), then proceed with removal.
Wear protective gloves and goggles during operation to avoid contact with chemicals.
After removal, the aluminum surface is prone to re-oxidation, so follow-up treatment (such as re-anodizing or coating) should be performed as soon as possible.
Conclusion
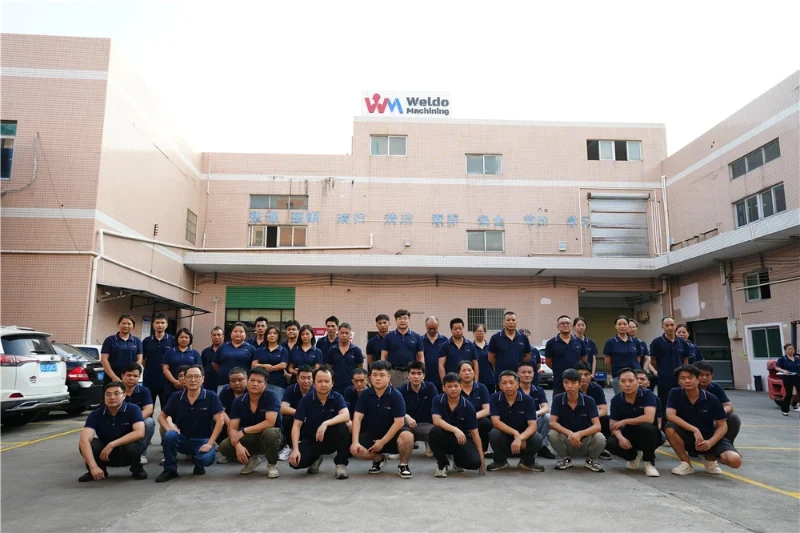
We at Weldo Machining have been dedicated to CNC machining, sheet metal fabrication, aluminum extrusion, injection molding, and other manufacturing processes for over 10 years. With experience in 50+ surface finishing techniques, we are highly skilled in handling surface treatment requirements for a wide range of materials, including metals, plastics, and composites.
Our factory is certified to ISO 9001:2015 standards, enabling us to solve most manufacturing challenges while meeting your budget expectations. If you would like to learn more or are looking for cost-effective services, feel free to contact us.
FAQ
Can aluminum anodizing be done at home?
People often ask whether it is feasible to learn aluminum anodizing at home. In short, the answer is yes. You can easily set up a small DIY electrochemical anodizing system in your garage. It is an efficient way to create durable anodized layers on small custom parts, brackets, or DIY projects. However, for large structural components or precision parts requiring tight tolerances, I always recommend seeking professional commercial services.
What safety precautions are required?
When working with acid baths and electrical equipment, safety must never be compromised. Here are the strict rules I follow to maintain a safe working environment:
· Wear protective equipment: Always use thick acid-resistant gloves, a proper respirator, and full-coverage safety goggles.
· Ensure proper ventilation: Work outdoors or in a well-ventilated area to avoid inhaling harmful gases.
· Handle solvents carefully: When cleaning aluminum parts, especially during acetone cleaning, keep all items away from sparks, heat sources, or open flames.
· Prepare neutralizers: Always keep a large box of baking soda nearby to immediately neutralize any accidental acid spills.
Are there other surface treatment processes for aluminum?
Although anodizing is the industry standard for improving durability through a protective oxide layer, it is not the only option available. Depending on project requirements, I usually recommend considering the following alternatives:
· Powder coating: Forms a thick, impact-resistant, and colorful coating. Extremely durable but covers the natural metallic texture of aluminum.
· Chemical film (Alodine): Provides excellent basic corrosion resistance and is ideal as a paint base, but lacks the hard, scratch-resistant surface of anodizing.
· Standard painting: The most accessible and economical option, but requires thorough surface preparation and tends to peel over time.
What other metals can be anodized?
Does anodizing improve surface finish?
Anodizing does not improve surface smoothness; it only maintains or slightly reduces the original surface condition. The final result depends on pre-treatment. If improved smoothness is required, the workpiece must be polished before anodizing.